
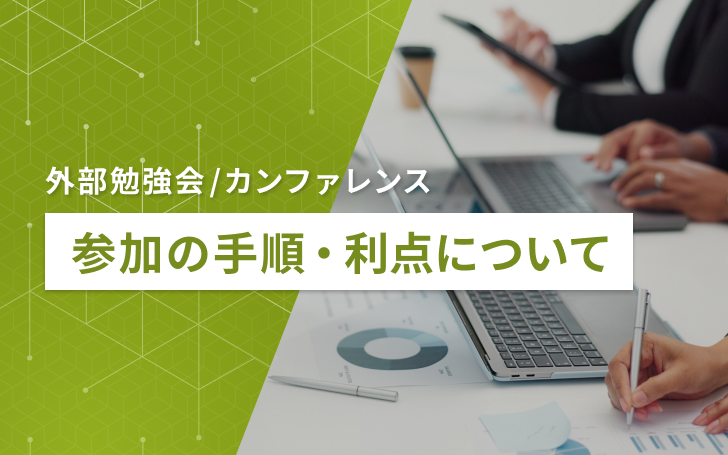
モバイルアプリ開発エンジニアの木村です。
弊社では見積書アプリ検索ランキング1位(※)の見積書・請求書作成アプリ『ジムー』をはじめとするモバイルアプリ開発を行っており、私は主にアプリの開発を担当しております。(※2024/7/23時点のPlayStore,AppStoreでの検索結果)
最近は業務でFlutterを用いたアプリ開発を担当しているので、Flutterの外部セミナーやカンファレンスに積極的に参加しています。この体験談をもとに参加方法や参加することのメリットについてお伝えしていこうと思います!
【参加したセミナー】
・関西モバイル研究会
・FlutterKaigi
などなど
どのように参加するのか?
まずはどのようにして外部の勉強会やカンファレンスを探していくかについて共有させていただきます。
私の場合はよく「connpass」というサービスを活用しています。このサイトで開催場所と興味のある技術名を入力して検索すると色々なイベントが出てきます。
会員登録は必要になりますが「このイベントに参加する」ボタンで登録すれば完了です!
あとは当日、参加するだけになります!
参加するメリット
私が思う参加するメリットについて3点紹介いたします。
実務事例や最新技術トレンドを習得できること

登壇される方は実業務をこなしているエンジニアの方が多く、実際の業務やプロジェクトでの事例を聞くことができます。課題点やその解決案を聞き、自身のプロジェクトに適応することで開発効率は格段に向上します。
こういった事例はネット検索ではなかなか辿り着けない内容になっているのでかなり価値あるものだと思います。
他にも最新の技術トレンドも知ることができます。
私の場合だと、最近対応が必須になったiOSアプリのプライバシーマニフェスト対応について意見交換できて良かった思い出もあります!
エンジニアのコネクションを作れること
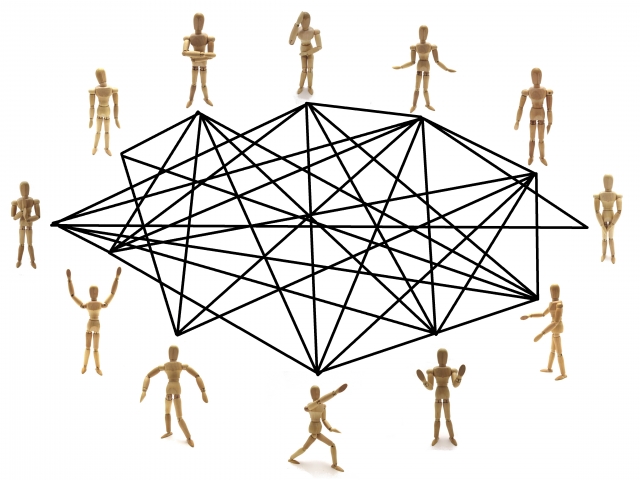
オフラインの勉強会やカンファレンスに参加すると登壇後に懇親会の時間が設けられていることが多いです!
懇親会では登壇者や参加者と気軽にお話ができます!その際に、意見交換や雑談を交えて色々な会社のエンジニアと知り合えるきっかけになります。
このような場でコネクションを作ると、困った際に助けてもらえたり意見いただけたりしますのでオススメです!
たまに有名なサービスのオフレコ話等も聞けるのも楽しみの1つだったりします!
会社の活性化に繋がること
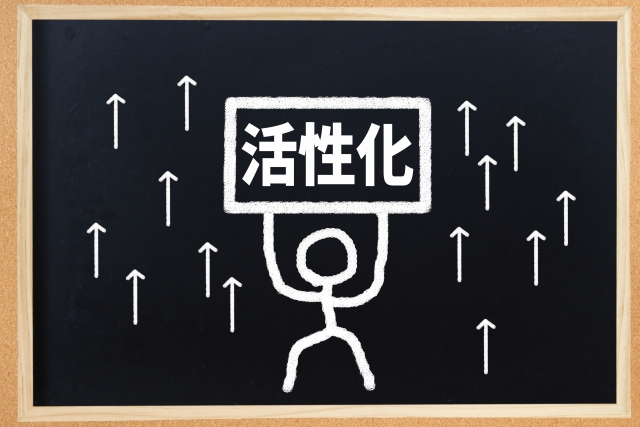
参加した内容を会社やプロジェクトメンバーに展開するといつもとは別の風を取り込むことができます。
展開した際に「今度一緒に参加したいです」といった方も現れるかもしれないですね!
このような取り組みをすると会社や周りの方々からの自身への評価がプラスになるのもメリットの1つです!
上記のように個人からチームへ、チームから会社へと活性化に繋がっていくと思っています。
さいごに
いかがでしたでしょうか?
こういった勉強会やカンファレンスに参加することで自分の付加価値を高めたり交流を広げられると思います!
私自身も初めて参加した際は自分の技術レベルで参加しても良いのかな?など不安に感じるところがありました。いざ参加してみると温かい方が多く、意外と初心者の方も参加されていたりするので1回目の参加で不安は無くなりました!
もし初めてで参加に迷っている方は、オンラインで参加や知り合いの方と一緒に参加することをオススメします!
ぜひ気になる勉強会やカンファレンスがあれば参加してみてください!
私も色々と参加する予定ですので、もしお会いしましたらその際はよろしくお願いいたします!